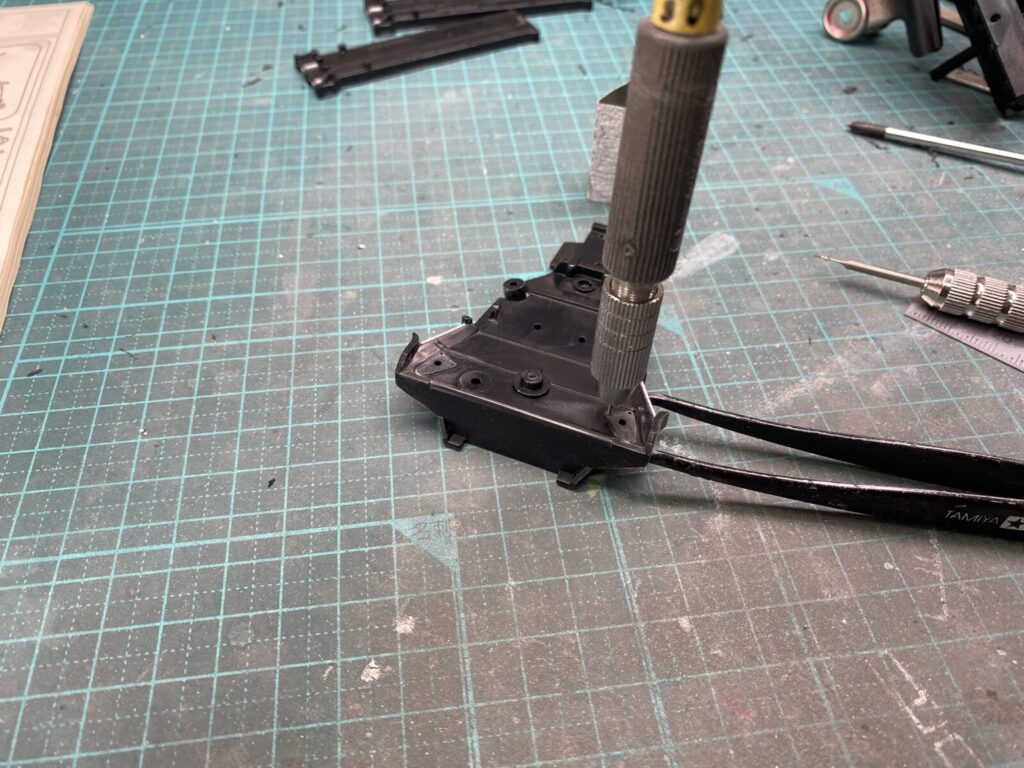
今回はまず、ギアボックス上部の加工から始めます。
キットにモールドされているボルト類をすべて削り落とし、質感の高い別パーツへ置き換える予定です。そのため、正確な位置に下穴を開けておきます。
あわせて、パーツ全体の形状も修正。エッジ部分をシャープに整え、面のつながりも見直しました。
こうした細かな加工は目立たない部分ですが、完成時の密度感や実感に大きく影響する工程だと思います。
This time, I started with modifications to the upper section of the gearbox.
All of the molded-on bolts were carefully removed and will be replaced with more realistic aftermarket parts. To prepare for this, precise pilot holes were drilled in the correct positions.
At the same time, the overall shape of the part was refined. The edges were sharpened and the transitions between surfaces were cleaned up to improve the overall appearance.
These kinds of small modifications may not stand out on their own, but they have a major impact on the sense of realism and detail once the model is completed.
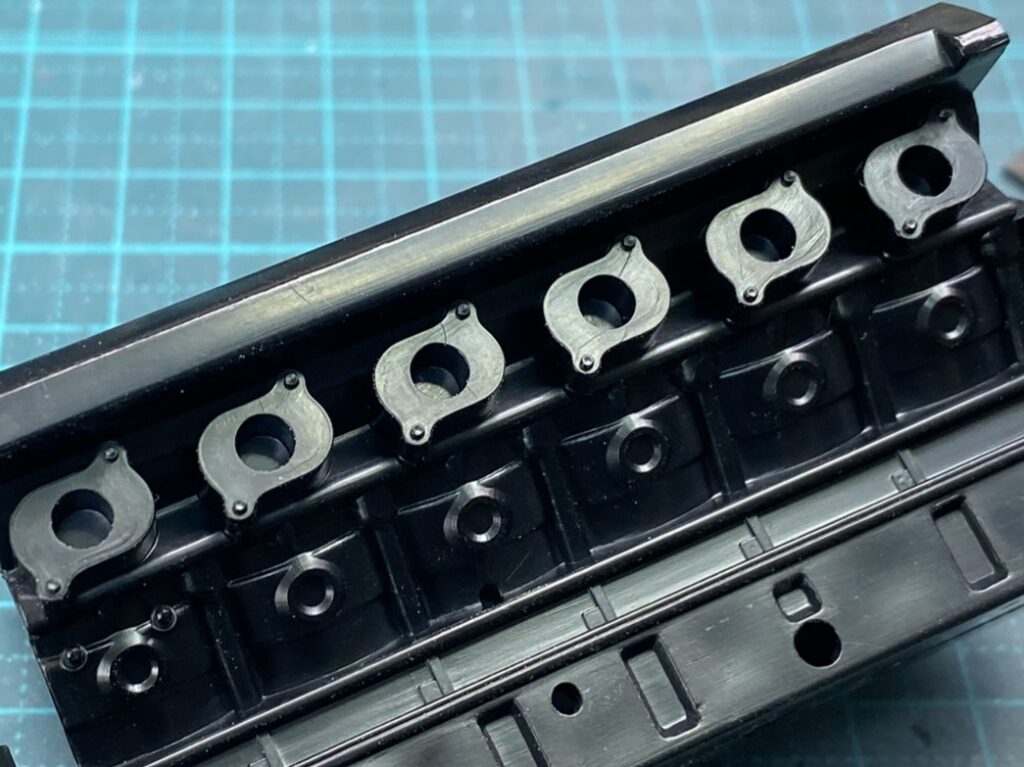
エンジンブロック側の加工も進めています。
エキゾーストフランジにもボルトのモールドが施されています。
Work on the engine block has also continued.
The exhaust flanges feature molded-on bolt details as well. These will be removed and replaced with more realistic metal bolt parts to improve the overall appearance and scale realism.
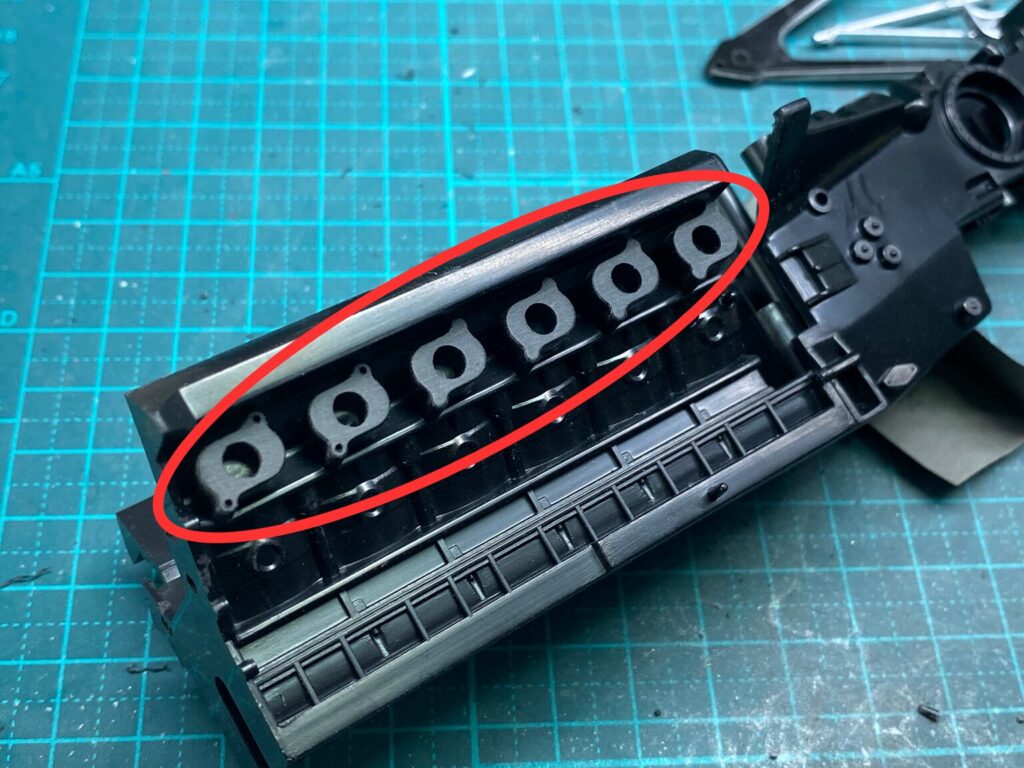
モールドされているボルト類をギアボックス同様すべて削り落としまし、新たなボルト用の下穴を開けています。
また、エンジンブロック全体に見られるヒケや面の乱れも修正。表面を整えながら、各部のエッジやラインもシャープに仕上げていきます。
As with the gearbox, all of the molded-on bolt details were carefully removed and new pilot holes were drilled for replacement bolts.
At the same time, sink marks and uneven surfaces across the engine block were corrected. While refining the surface finish, the edges and panel lines were also sharpened to give the parts a cleaner and more precise appearance.
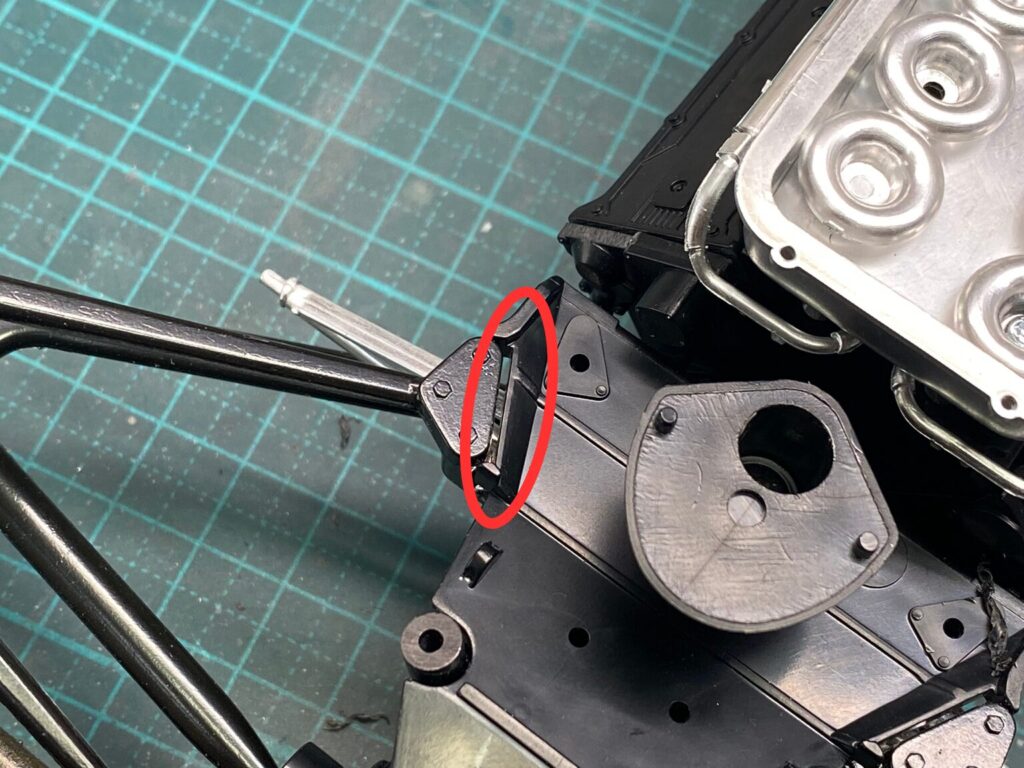
アッパーアームの取り付け部分に、わずかですが隙間が見られました。
完成後に足まわり周辺は特に精密感が出やすい箇所なので、しっかり修正していきたいと思います。
A slight gap was found around the upper suspension arm mounting area.
Since the suspension section is one of the most noticeable areas once completed, especially in terms of precision and realism, I want to make sure this area is properly corrected before moving forward.
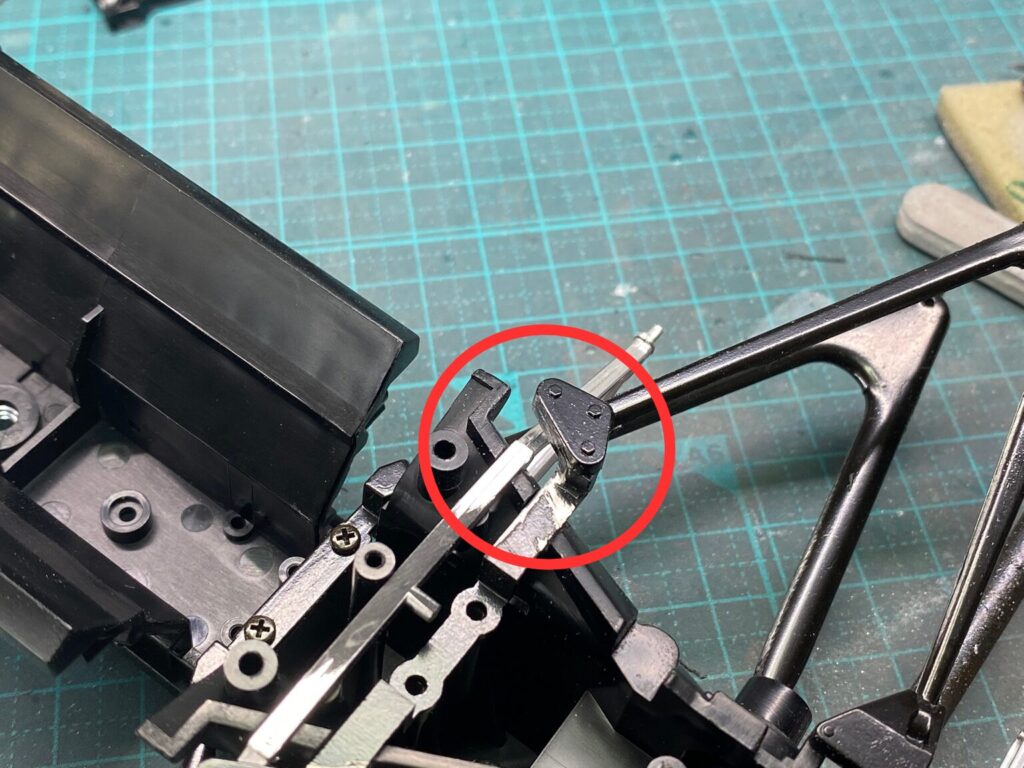
金属製のアッパーアームの付け根部分の形状も修正しました。
The shape of the mounting base for the metal upper suspension arm was also refined to achieve a cleaner and more accurate appearance.
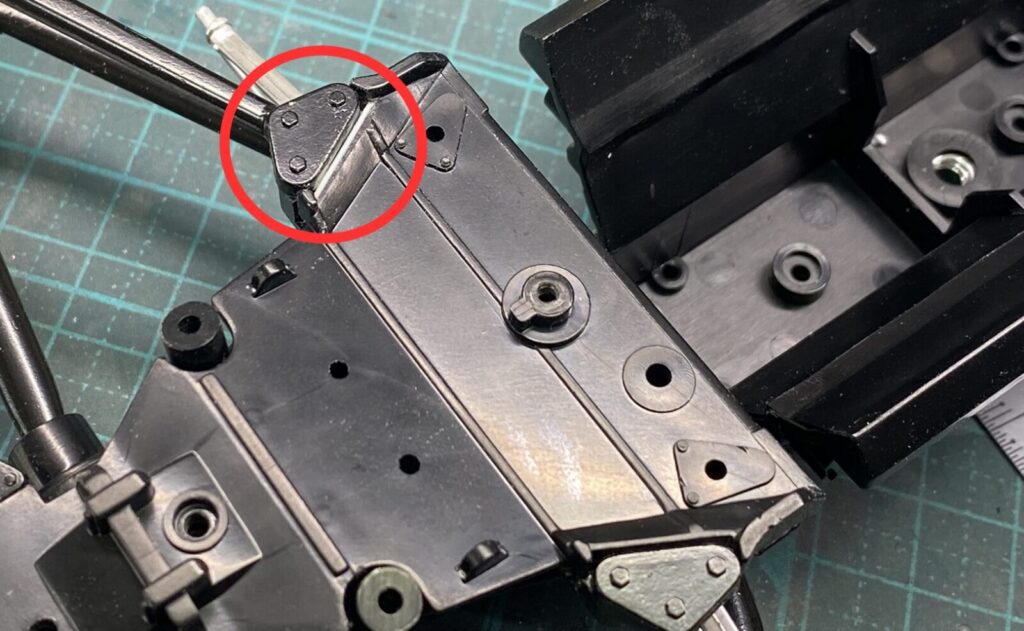
隙間を埋めながら接合面の形状を整え、周囲とのつながりも自然になるよう調整。あわせてエッジ部分も軽く整形しています。
なお、アッパーアームの取り付け金具部分のボルトも後の工程で修正します。
The gaps were filled while refining the shape of the mounting surfaces, and the surrounding areas were adjusted to create a more natural transition. The edges were also lightly sharpened at the same time.
The bolt details on the upper suspension arm mounting brackets will also be corrected in a later stage of the build.
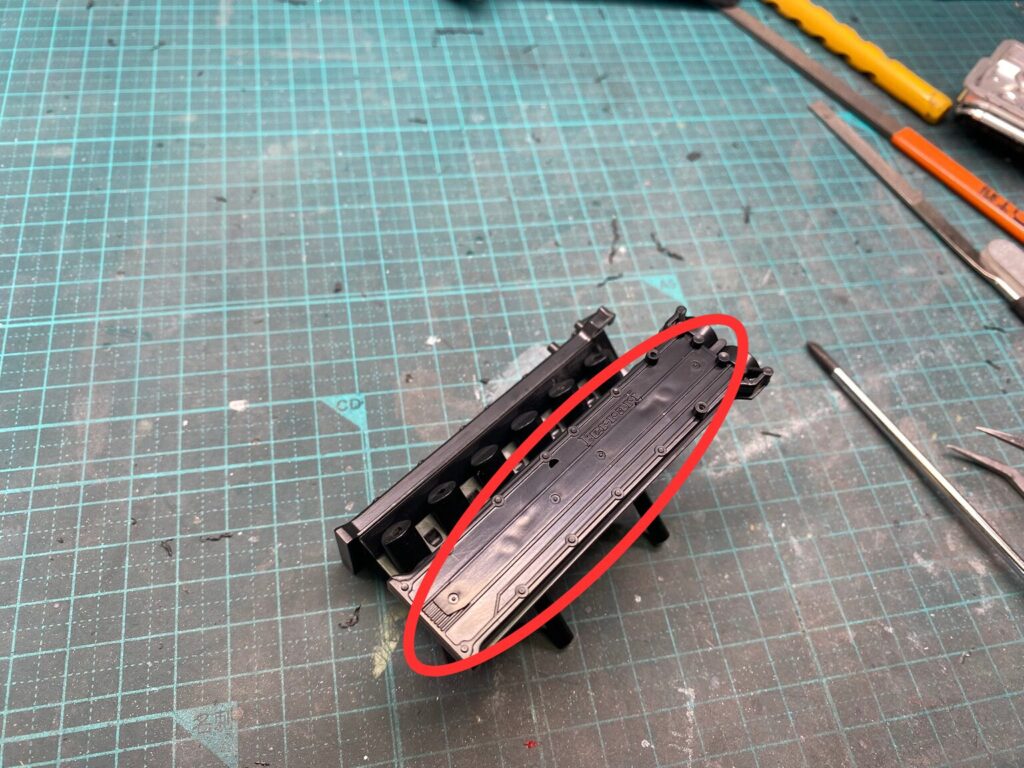
次に、エンジンブロックのヒケ修正とボルト取り付け用の下穴加工を進めます。
この部分は完成後にも非常に目立つ箇所となるため、表面処理には特に気を使っています。
Next, work began on correcting the sink marks on the engine block and drilling pilot holes for the replacement bolts.
Since this area remains highly visible even after completion, extra care is being taken with the surface preparation and overall finish.
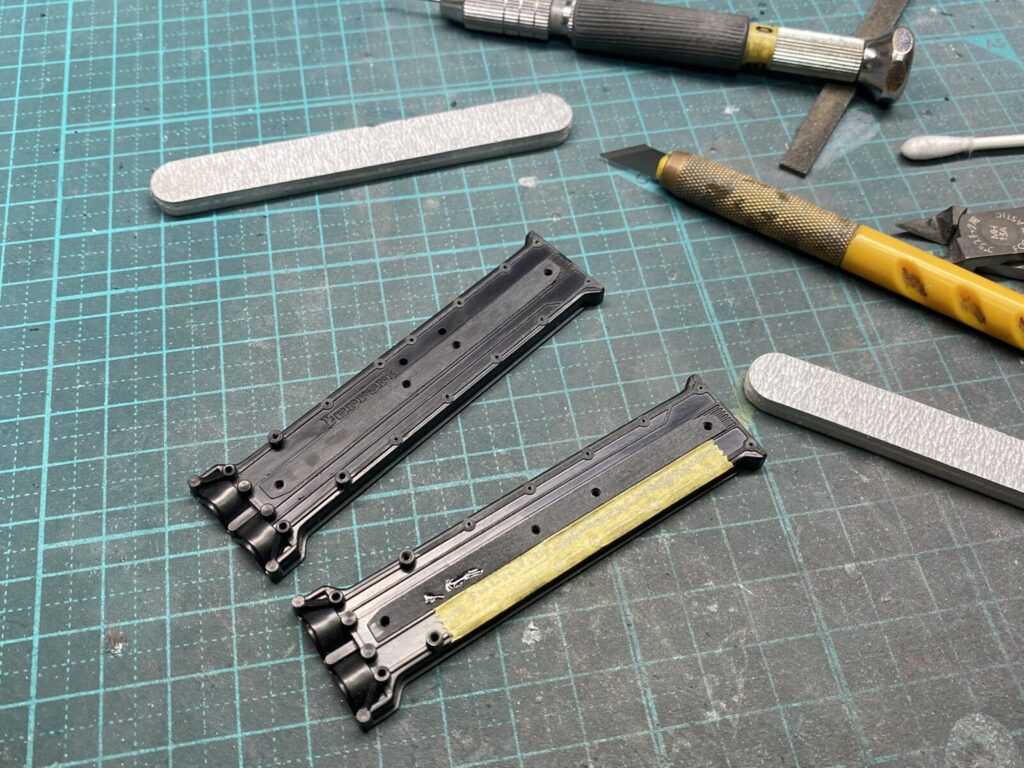
今回はパテではなく瞬間接着剤を使用し、硬くシャープな面を出す方向で修正を行うことにしました。
ヒケを埋めながら全体の面精度を整え、あわせてボルト置き換え用の下穴も加工。
This time, instead of using putty, I chose to use cyanoacrylate adhesive to achieve a harder and sharper surface finish.
While filling the sink marks, the overall surface accuracy was refined, and pilot holes for the replacement bolts were drilled at the same time.
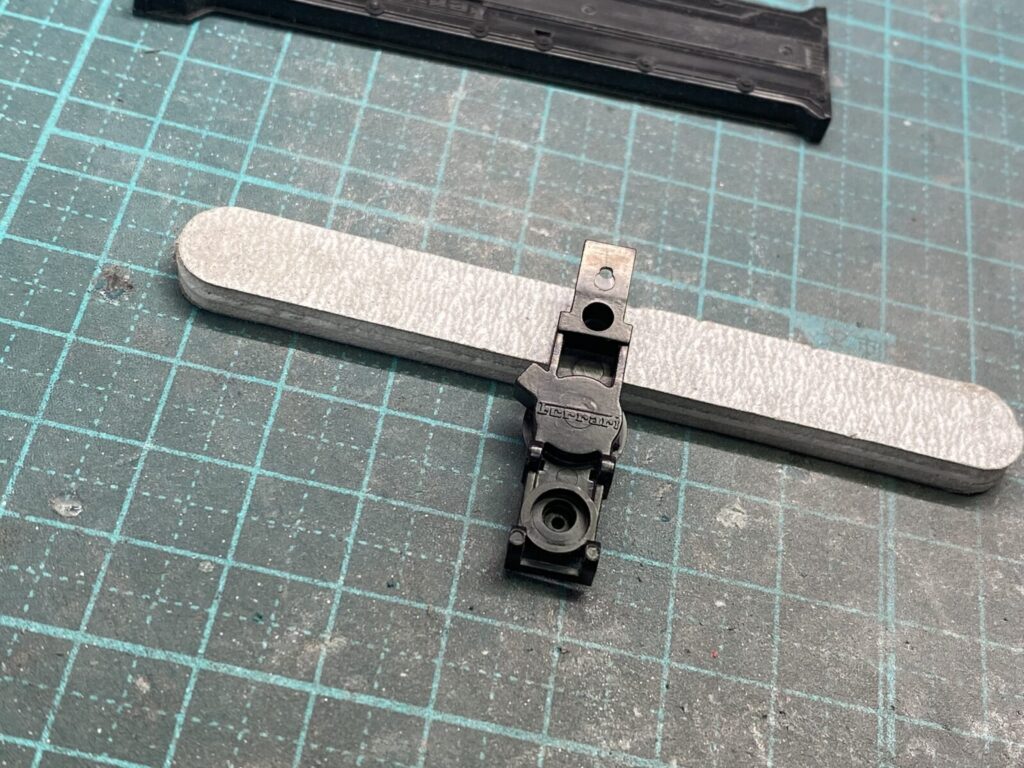
リアエンドのパーツの形状も一部修正。
Some modifications were also made to the shape of the rear-end components to improve the overall appearance and accuracy.
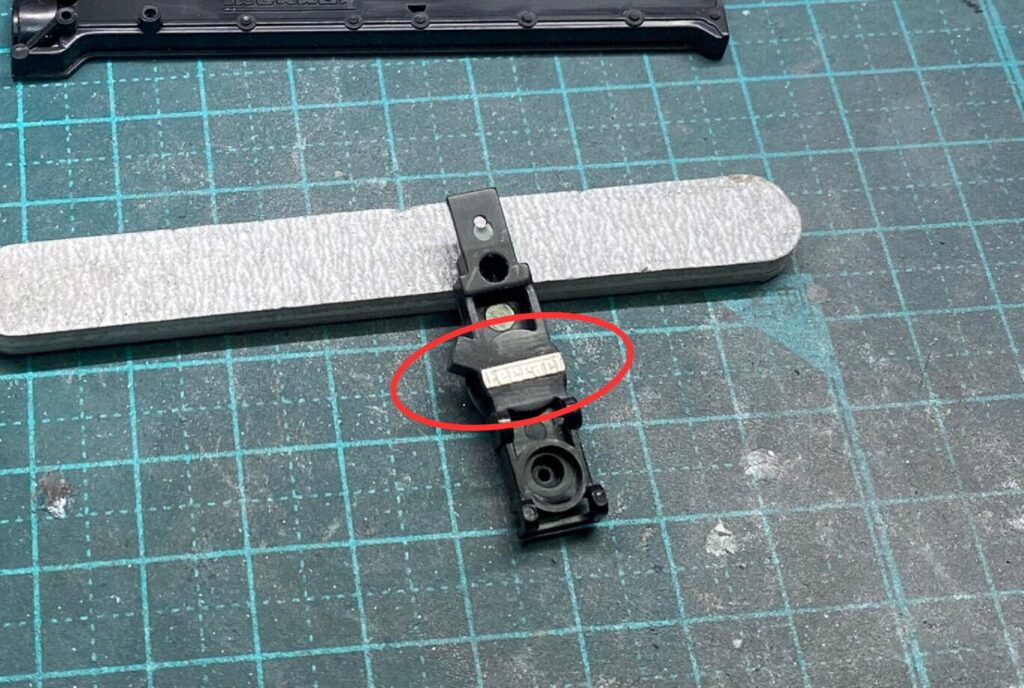
フェラーリのロゴも削り落としエッチングパーツを埋め込んでおきます。あとの工程で塗装しフェラーリのロゴを磨き出す様にします。
The molded Ferrari logo was also removed and replaced with an embedded photo-etched part.
At a later stage, the area will be painted and carefully polished so that the Ferrari logo gradually appears through the finish, creating a sharper and more realistic metallic effect.